

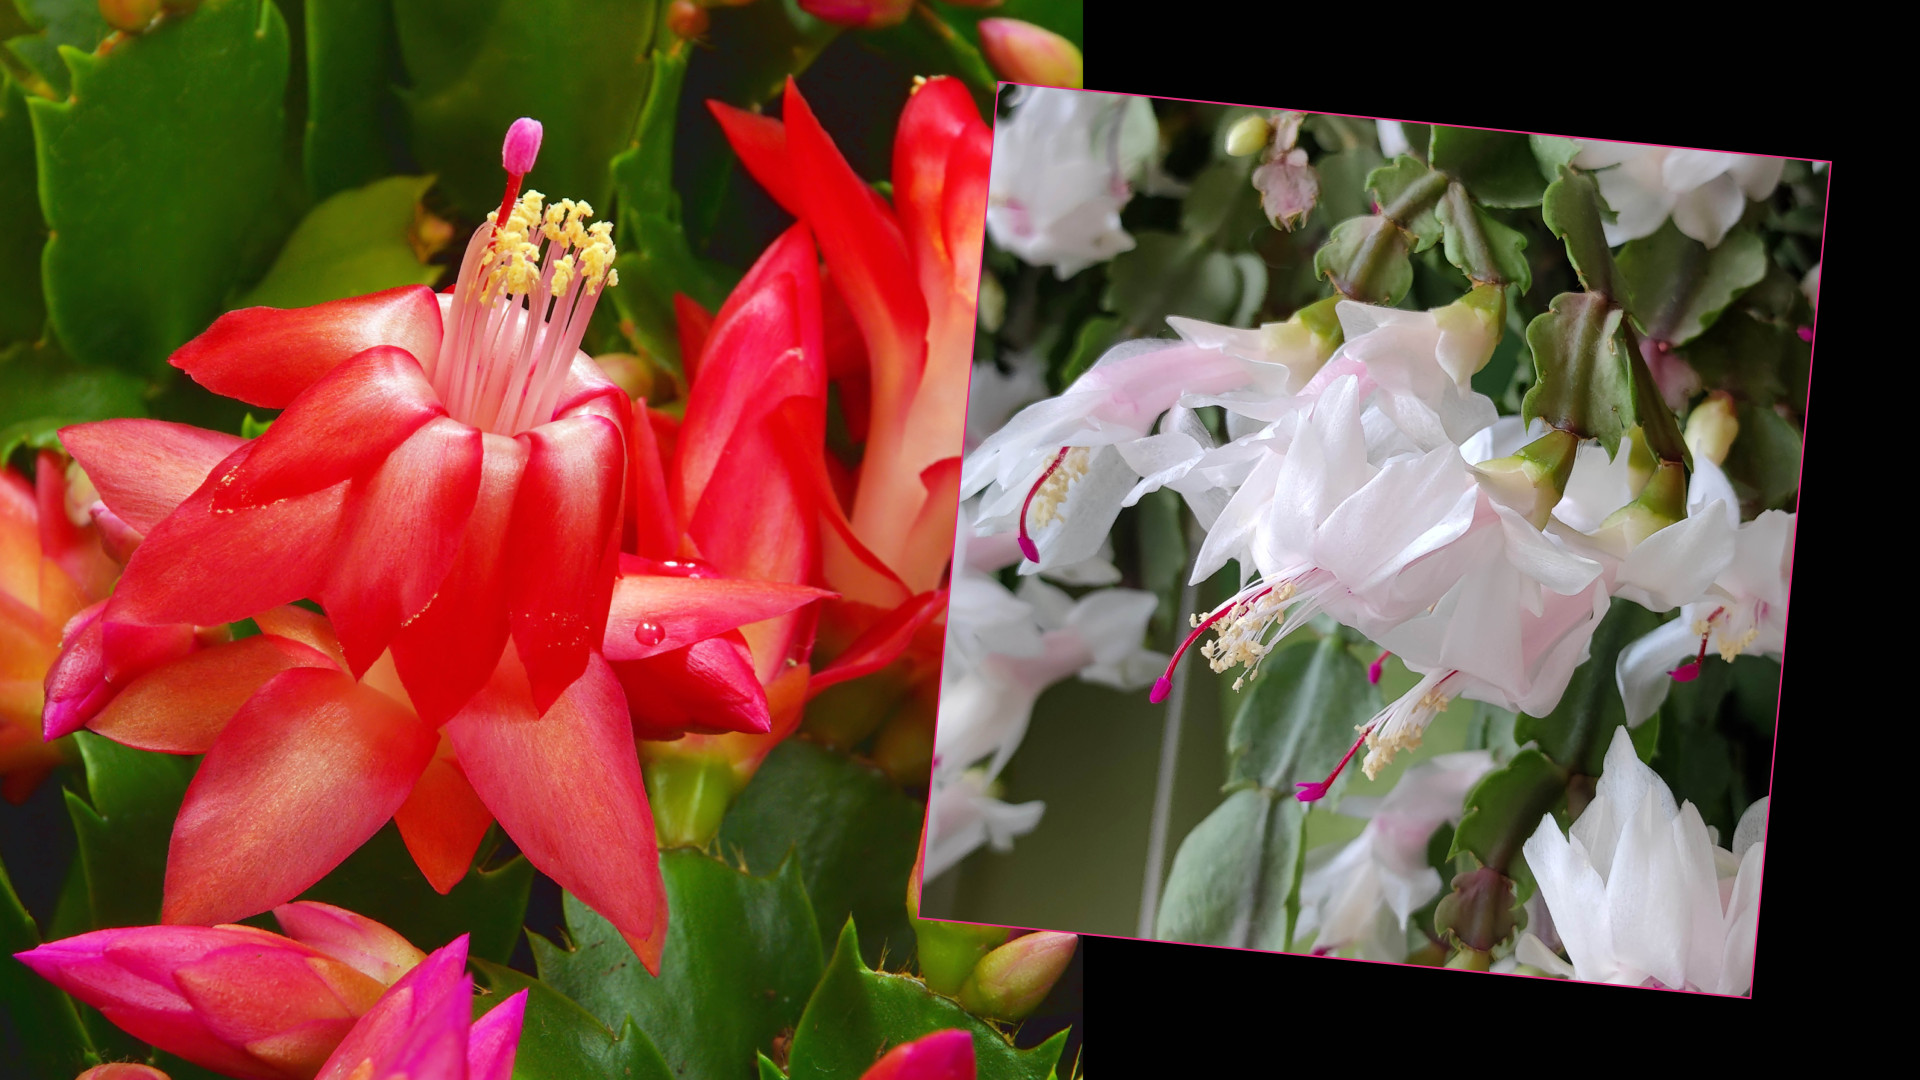

In the weeks leading up to the festive season, Christmas cacti are available in many UK garden centres and supermarkets, providing a colourful display from November to January.
Unlike desert cactus, they originate from the south-east Brazilian coastal mountains Serra do Mar, and also the Serra dos Órgãos mountains near Rio de Janeiro, where they grow on trees or rocks in humid, shaded environments.
When it comes to growing Christmas cacti in our homes, provided they are treated with care, they will thrive for many years, coming into flower each winter and adding a colourful display to your Christmas decorations. Flower colours vary from white to shades of pink, even red.
Buying
When buying a Christmas cactus ensure that the selection has not been displayed in a cold, draughty area in the garden centre or shop. Look for a plant which has buds appearing at the tip of each stem rather than selecting a plant which is in full flower. Once you have made your choice the first essential step is to protect it from winter cold on the journey home as it will lose buds immediately if it experiences low outdoor temperatures.
Placing
Once home, place in bright, indirect light as direct sunlight will scorch their leaves. They require a daytime temperature between 18-24°C with night time temperatures around 12°C to encourage flowering. When you have put your cactus in position, try to avoid moving it too often when it is in bud as this will lead to the buds dropping. It is worth mentioning that as the Christmas cactus grows, their long, flat, segmented stems start to cascade downwards so they are ideal for a hanging planter or a pedestal where they will have space all around. Over the years, they will develop many stems and so long as they are cared for properly, they will reward you with numerous flowers.
Watering
When it comes to watering remember that these plants are succulents and tend not to require a lot of water. Before you water, check if the top two to three centimetres of the soil feels dry. Also to reduce the risk of overwatering, stand the pot in a dish of water so that they take up the moisture from the bottom. If you overwater your cactus, the leaves will yellow, potentially having black or red spots. You also need to reduce watering during the plants rest periods (in autumn before flowering and after flowering). To increase humidity, place the pot on a pebble tray with water and mist a couple of times a week with tepid water.
Feeding
During the spring and summer, your Christmas cactus will require feeding with a high-potash house plant food. Do not fertilise during its rest periods or when buds develop. During its rest periods, not only does watering need to be reduced but the plant requires cooler temperatures. Once buds start forming, it will require a warmer temperature.
Maintaining and Repotting
As the flowers fade, nip them off to keep the plant looking at its best. Fallen flowers can be messy too, as they drop pollen and can be sticky.
These plants prefer to be slightly root-bound so only repot when the roots have filled the pot (every one to two years). This is best done in March. Use a cactus and succulent soil mix, or your own blend of potting soil and sand, and it is also worth adding a drainage layer of pea gravel in the bottom of the pot to prevent waterlogging.
Before you remove your cactus from its original pot, water it thoroughly before allowing the soil to dry out slightly. Gently squeeze the sides of the old pot, loosening the soil all round. Holding the cactus in position, gently turn the pot upside down, loosening the root ball whilst taking care not to damage the roots.
Placing your cactus centrally in its new pot, ensure the top of the root ball is 2.5cm below the rim. Fill around the roots with fresh potting mix, gently firming the soil to remove air pockets and water thoroughly after repotting. Place in a shady location for a few days, resuming normal care (including watering and light exposure after a few days).
Propagating
Christmas cacti can easily be propagated from stem cuttings. Remove a section of leaves with three segments. Allow it to callus over for a couple of days before planting in a small pot of well-drained potting mix. Keep the soil moist and place in bright indirect light and your new plant will soon establish.