In today's digital-first age, viewers are hungry for more than glossy content—they need authenticity. They need to experience what goes on behind the curtain, where true moments exist. That's why behind-the-scenes (BTS) content has become one of the most captivating forms of social media content for businesses, brands, and creators alike.
No matter whether you're recording the preps for a photoshoot, the event prep mayhem, or the humorous moments no one else gets to see, behind-the-scenes videos are a personal, relatable take that fans adore. And with the proper tools, you don't have to be a video editor to make them rock.
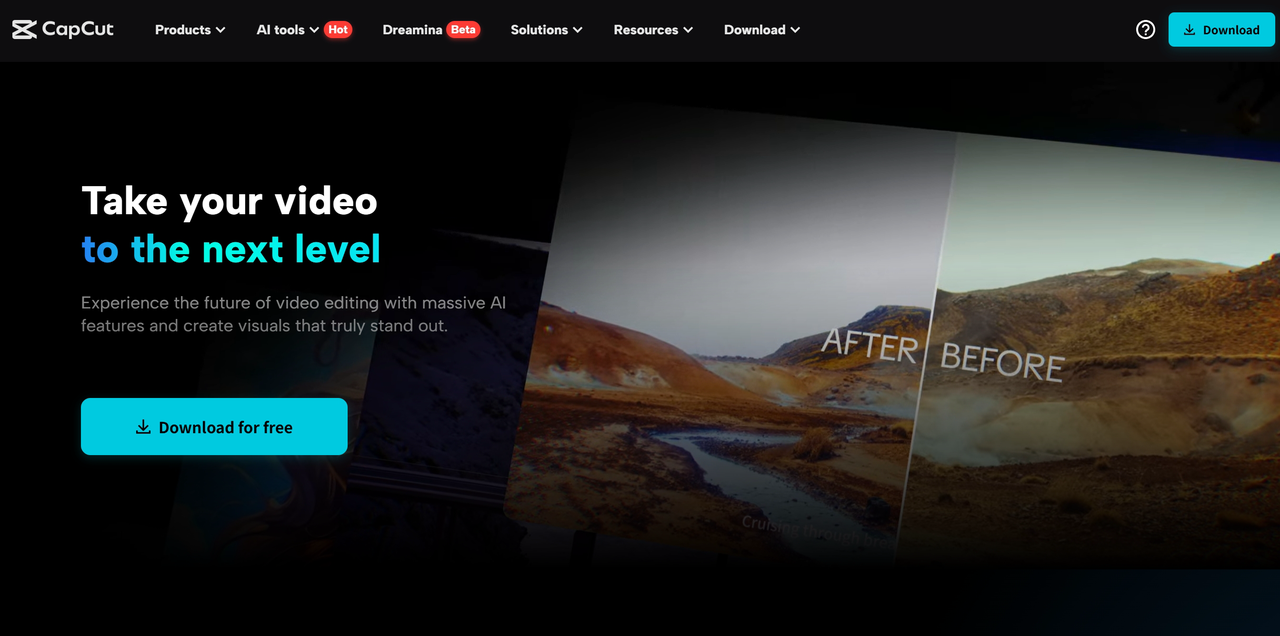
Welcome, CapCut Desktop Video Editor—a free, powerful, and simple-to-use editing software that assists you in making your raw BTS clips become beautiful, attention-captivating pieces of content for TikTok, Instagram Reels, YouTube Shorts, or even your own website. Even better, you can add an extra creative layer by using CapCut’s built-in text to speech feature, which lets you quickly generate voiceovers without needing a microphone.
Here's a quick walkthrough of creating BTS content using CapCut Desktop Video Editor in five easy steps, as well as some additional information to help you enhance your videos.
Why Behind-the-Scenes Content Works
Before we get into the technical aspect, let's briefly discuss why BTS clips are worth your while:
Makes your brand or creative process more human
Humans desire to relate to humans, not just products or polished end results.
Creates trust and transparency
Granting your audience access behind the scenes reflects confidence, openness, and genuineness.
Ideal for storytelling
A cluttered desk, a chuckle between shots, or a rapid cut of camera equipment being set up can convey more about your work than a slick promo ever will.
Engages people
BTS clips tend to pique interest and discussion—viewers often ask, "How did you capture this?", "What is your camera?", or "Where did you shoot this?" Now let's see how to make those unedited moments content gold using CapCut.
Step 1: Collect and Arrange Your Footage
Excellent BTS content begins with excellent moments, so begin by gathering all of your raw footage.
This may include:
- Setting up gear
- Team members getting a product or area ready
- Bloopers or candid shots
- Sneak peeks at a shoot or production
- Voice memos or behind-the-scenes commentary
If you're shooting BTS consistently, it's helpful to keep your clips organized in a separate folder per shoot or project. This speeds up editing and keeps everything neat when you finally open CapCut.Don't stress if your clips aren't flawless. BTS content lives for authenticity, not flawlessness.
Step 2: Begin a New Project in CapCut Desktop
Launch CapCut Desktop and select "New Project" to open a new editing timeline and media workspace. Select your aspect ratio—use 9:16 (vertical) for Instagram Reels and TikTok, or 16:9 (horizontal) if you are creating BTS content for YouTube or Facebook.
Import your media by dragging and dropping all your BTS clips, audio, and other elements into the media library on the left side of the editor. Drop your clips onto the timeline and organize them in a sequence that provides the most entertaining or engaging narrative.
If you want to automate even more of the editing process, you can experiment with CapCut’s AI video generator to quickly assemble a rough cut based on your selected clips and style preferences.
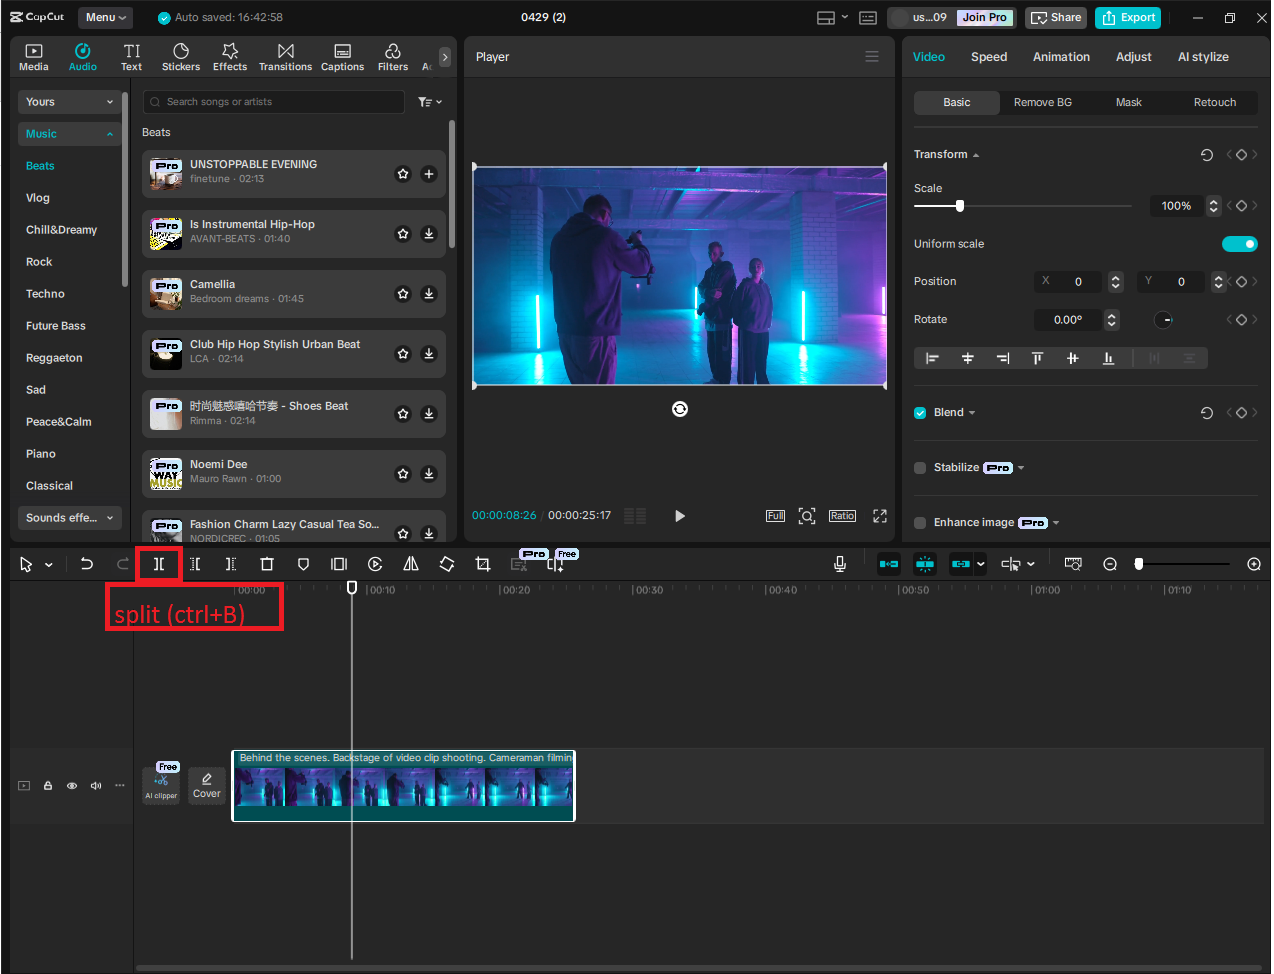
Step 3: Clean Up and Construct the Story
Now you get to transform your chaotic behind-the-scenes video into a tidy, engaging highlight reel. Trim the fat by employing the trimming tool to remove dead time, awkward silences, or shaky moments—keep only the seconds that reveal personality, tell a tale, or are visually engaging.
Rearrange for flow, remembering that behind-the-scenes footage does not need to follow chronological order; instead, rearrange the footage for humor, drama, or rhythm. For instance, you could begin with a humorous error, cut to setup material, and finish with a dramatic payoff or laugh moment.
Step 4: Enhance with Captions, Music, and Effects
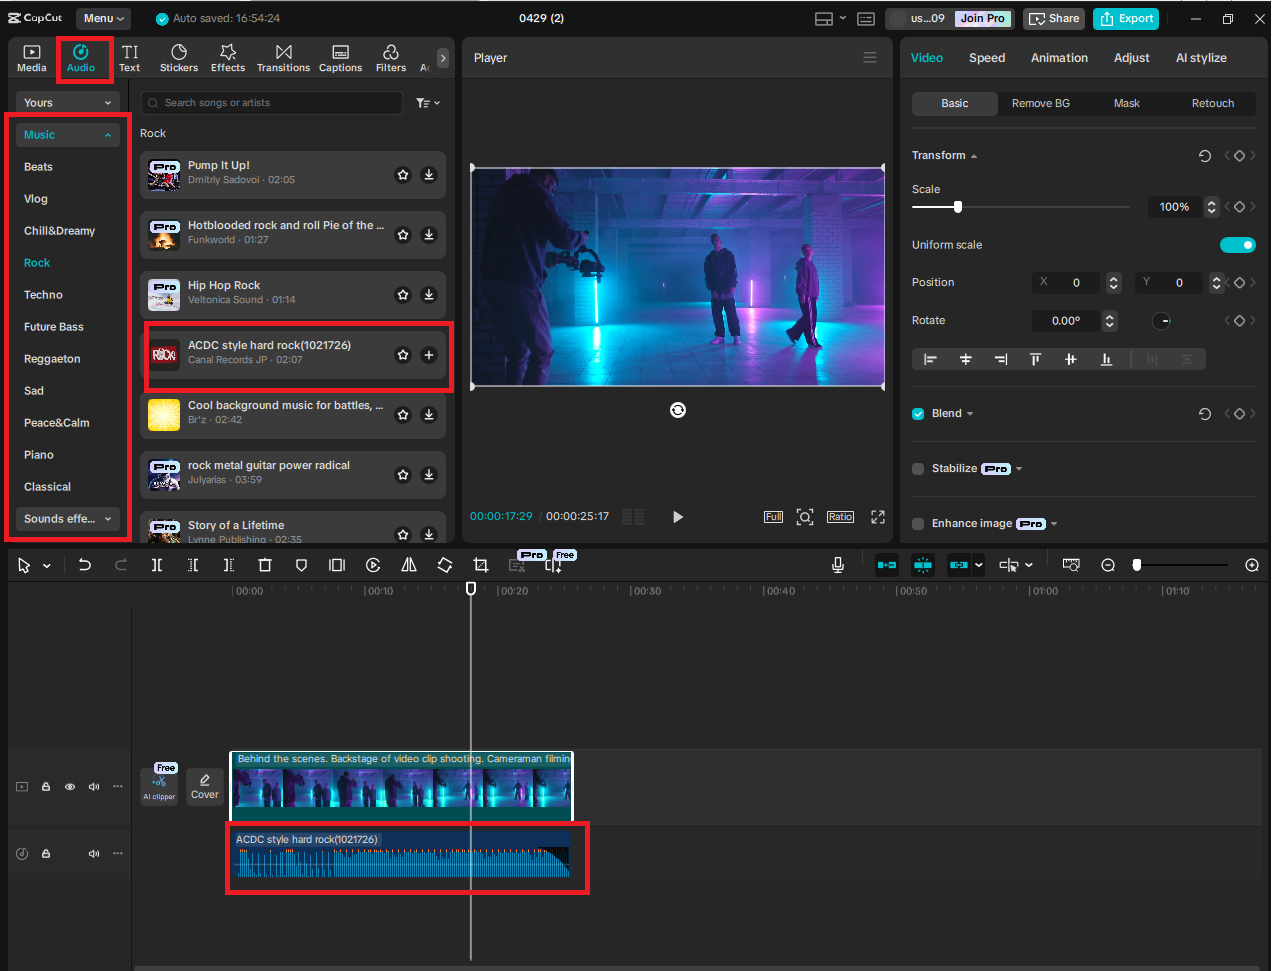
Now that the skeleton of your video is ready, it's time to bring it to life by adding background elements and transitions. Start by inserting background music—CapCut offers a library of royalty-free tracks, or you can upload your own. Behind-the-scenes (BTS) content often pairs well with energetic, relaxing, or lo-fi music. If your video includes dialogue, be sure to lower the music volume so it remains in the background and doesn’t overpower the spoken words.
Next, smooth out any jump cuts between scenes by adding transitions. CapCut provides various options like fades, slides, and zooms. Apply these subtly to maintain a professional look and ensure they don’t distract from your core content.

To add even more personality or humor, consider experimenting with CapCut’s voice changer effects to modify spoken audio for comic relief or dramatic flair.
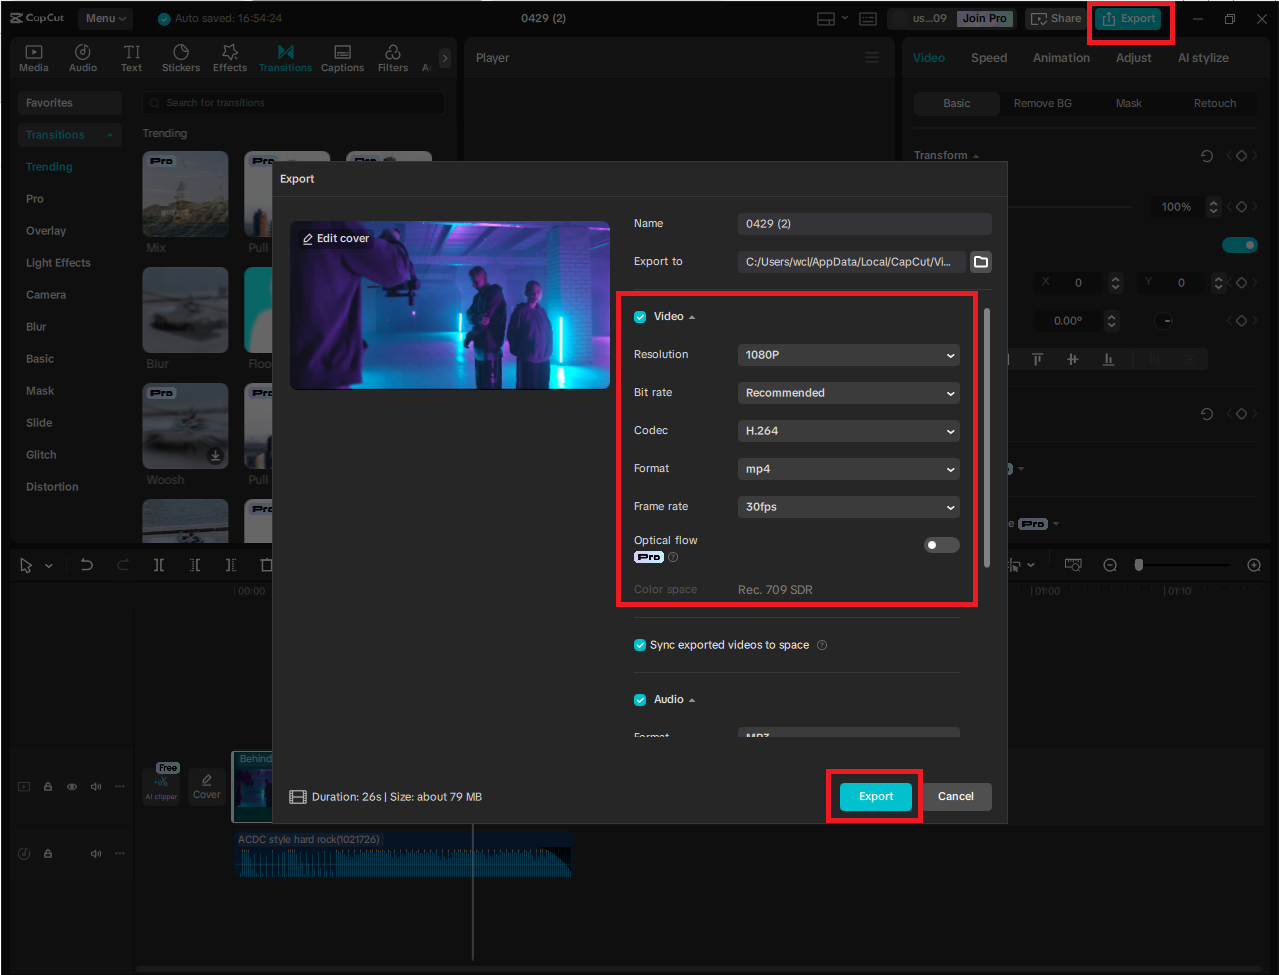
Step 5: Export and Share
Once your edit looks and feels right, you’re ready to share it with the world. Click “Export” in the top right corner and choose 1080p resolution for high-quality playback. Set the format to MP4, name your file something clear (e.g., “BTS_Photoshoot_Clip1”), and choose a folder to save it in.
After exporting, watch your full video to double-check for types, timing issues, or audio hiccups. For standout BTS clips, keep it brief—30–60 seconds, as attention spans are short, particularly on mobile. Display faces, because humans relate to humans; show team members laughing, working, and responding.
Add a twist by beginning with something out of the ordinary to capture attention immediately. Include a CTA to encourage viewers to comment, share, or view the final product. Finally, be consistent, as posting frequent BTS clips helps create a story your audience can track.
Final Thoughts
Making behind-the-scenes videos isn't merely about sharing what goes on when the cameras aren't rolling—it's about letting your audience into your world. It creates connection, trust, and authenticity in a way that slick content alone can't.